MySQL
This section describes how to connect to MySQL database from Datero.
Environment
If not running, let's start datero container created in the installation section.
Connectivity pattern
To emulate external host connectivity, we will use container 2 container approach.
We will create dm network and connect datero container to it.
Then we will run datasource mysql container and connect it to the dm network as well.
Now, let's create dm network and connect datero container to it.
Also make it resolvable under the datero hostname.
To get MySQL database we can use official mysql docker image. Let's pull the image first.
Now run the container, connect it to thedm network and make it resolvable under the mysql_db hostname.
We also set password for the root user to the root value.
docker run -d --name mysql \
    --network dm --network-alias mysql_db \
    -e MYSQL_ROOT_PASSWORD=root \
    mysql
mysql container from the datero container by its hostname mysql_db.
MySQL database
Having mysql container running, we can connect to it and create some test database.
mysql> create database finance;
Query OK, 1 row affected (0.02 sec)

mysql> use finance;
Database changed

mysql> create table users(id int, name text);
Query OK, 0 rows affected (0.05 sec)

mysql> insert into users values (1, 'John'), (2, 'Mary'), (3, 'Kyle');
Query OK, 3 rows affected (0.02 sec)
Records: 3  Duplicates: 0  Warnings: 0

mysql> commit;
Query OK, 0 rows affected (0.00 sec)

mysql> select * from users;
+------+------+
| id   | name |
+------+------+
|    1 | John |
|    2 | Mary |
|    3 | Kyle |
+------+------+
3 rows in set (0.00 sec)
Now we are ready to connect to the mysql database from datero.
Datero connection
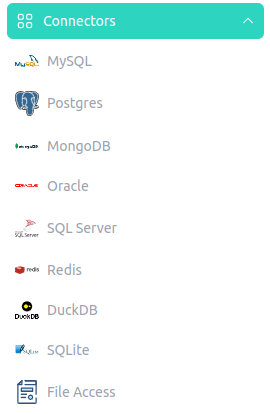
Open Datero web ui at http://localhost and click on the MySQL entry in the the Connectors navigation section on the left.
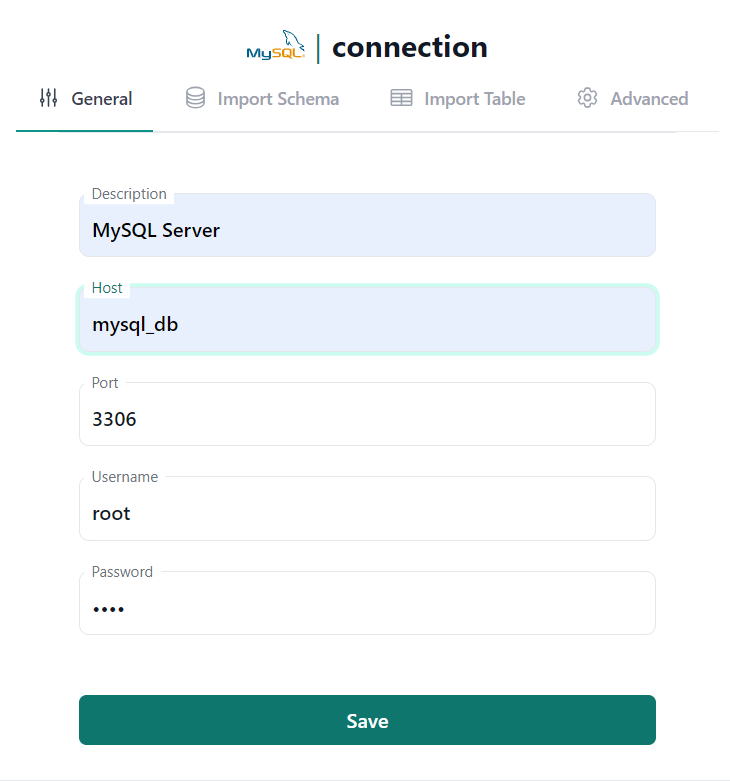
Enter any descriptive name in the Description field. For example, MySQL Server.
Enter mysql_db as the Host value.
This is that custom hostname that we specified when were launching mysql container in the dm network.
This emulates external host connectivity.
In a real-world case, the situation would be similar.
If you have, for example, MySQL running on mysql-host.my-company.com hostname and
it's resolvable from the machine where datero container is running, you can use that hostname instead.
Specify root as the User value.
For the password use root as well. Because this is a value we set when were launching mysql container.
Click Save to create the Server logical object.
| Connector | Connection Form |
|---|---|
 |
 |
Schema import
After the Server is created, we can import database schema from it.
Connection wizard will switch the tab and open Import Schema form.
In the Remote Schema drop down select you will be able to pick-up finance database,
that we created earlier in source mysql database.
| Server Object | Import Schema |
|---|---|
 |
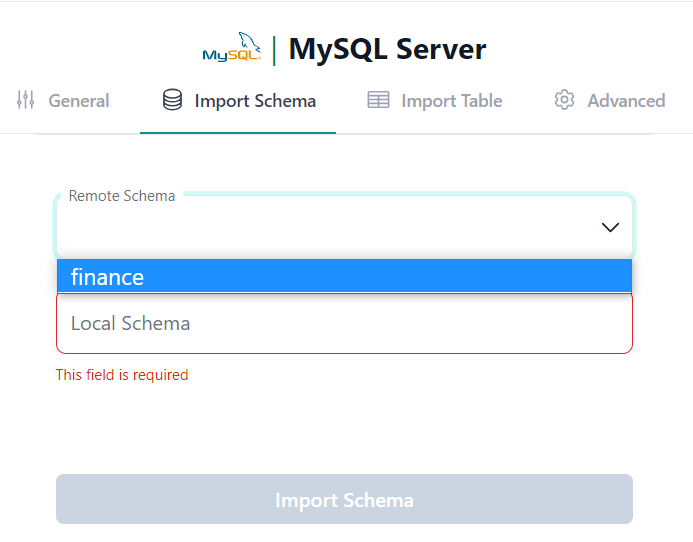 |
For example, we want to import finance database into the mysql local schema.
To do that, type mysql into the Local Schema input field and click Import Schema button.
Important
Schema import doesn't physically copy any data. For every source table and view it creates an object of a special type in a local schema. This object type is called foreign table. It implements data virtualization pattern.
Querying foreign table will automatically fetch data from the source database. If supported by connector, any filtering, sorting, grouping, etc. will be pushed down to the source database. This means that only the data that is needed will be fetched.
If you change the schema in the source database, you will need to re-import it in Datero to reflect the changes.
Thus, schema evolution is handled automatically just by re-importing the schema.
If everything is correct, you will see the success notification message.

We are ready now to query our MySQL database from Datero.
Data Querying
Click on the Query Editor icon in the left navigation panel.
You will see mysql schema in the Datero object tree.
If you expand it, you will see users table from original mysql database.
Its definition was automatically imported.
To query data just write a query in the editor and press Ctrl+Enter or click green Run button above.
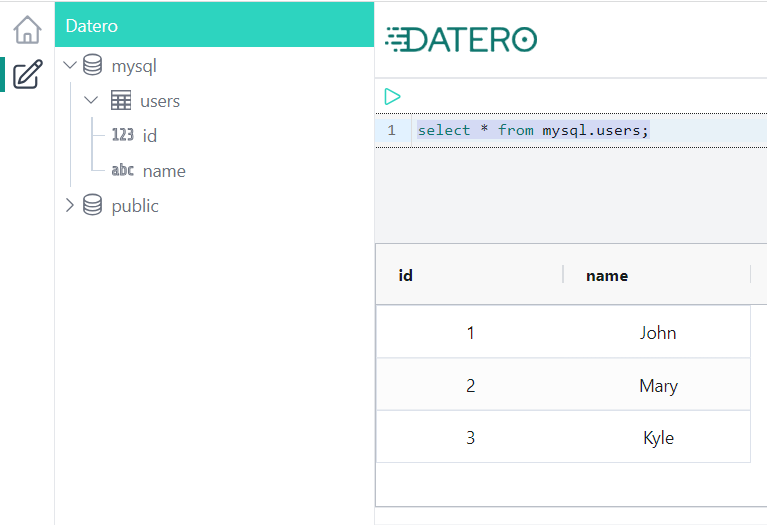
And that's it! You have successfully connected to the MySQL database from Datero and queried the data.
Summary
Of course, having just a single datasource is not very interesting. It's non-distinguishable from the direct connection to MySQL via any other tool, like DBeaver. But the real power of Datero is in its ability to connect to multiple datasources and join data from them.
This is what is not possible via the "direct connection" tools. Even if they support connecting to multiple datasources, they don't support joining the data from them.